
Mazda CX-9 3.7L Fuel Injector Replacement
Mazda CX-9 3.7L Fuel Injector Replacement
As I was leaving work yesterday, I felt it as soon as I started my car. By “it” I mean a misfire. I won’t explain the feeling because if you are reading this, then you likely already know what I’m talking about.
So it was running on 5 cylinders. I had somewhere important to be, so I had to think fast. 9 times out of 10 on newer model cars, a non-firing cylinder means a bad coil which is an easy fix.
Without my code reader, I was about to do a quick and dirty process to figure out which cylinder wasn’t firing by pulling the coil wires off one at a time while the engine was running. (I DO NOT recommend doing this, ever) When you find the wire that doesn’t make it run even crappier than it already is, then that’s the bad cylinder. I say I was about to do that because when I looked across the parking lot to the auto repair shop next door the guy was still there. He read the code for me: Number 2 fuel injector. Not quite as easy as replacing a coil.
So I drove it. I’m not saying this is a good idea. In fact, I know it’s not a good idea. Understand that I would NEVER drive a car that had a failed coil. Without spark, the fuel still enters the cylinder but doesn’t burn. That’s bad. It will destroy your catalytic converter. My situation was different. The cylinder was getting spark but no fuel, so it’s just doing nothing really. I drove it, and it’s all good.
Today, I borrowed a car to get to work and I picked up the parts. It’s not very difficult to do but it takes some time.
Three things to think about beforehand:
- KNOW WHICH INJECTOR IS BAD BEFORE STARTING THIS PROCEDURE.
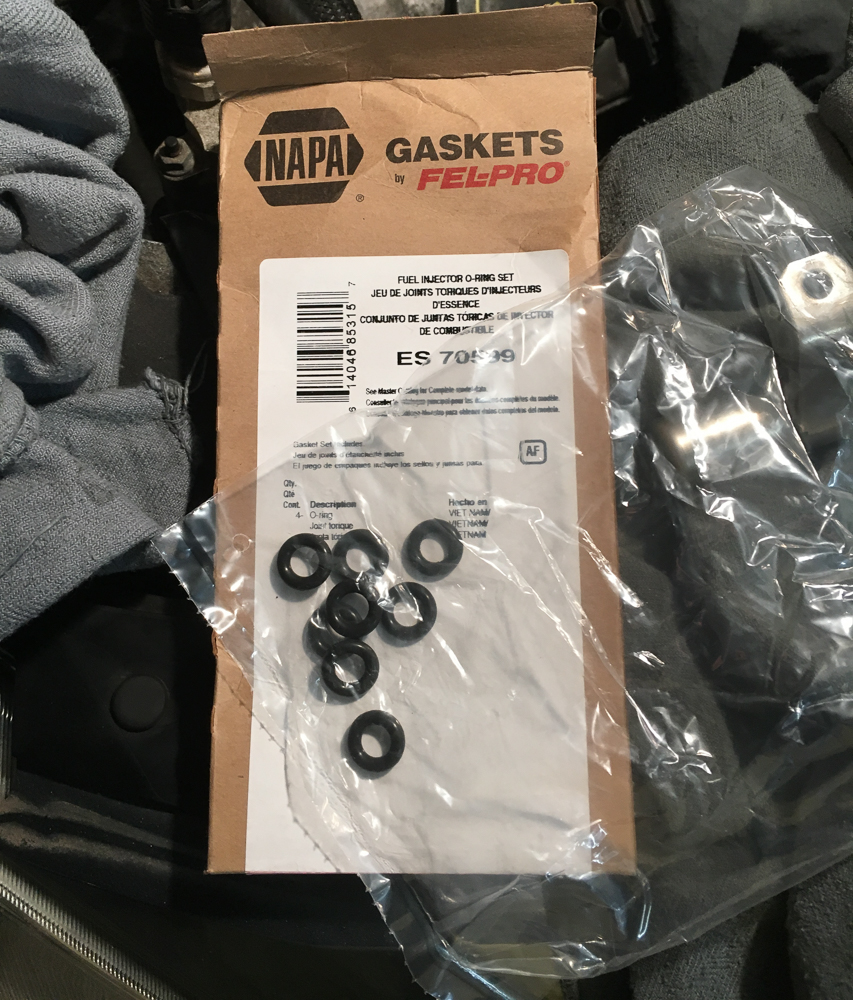
- It’s a good idea to have some extra injector o-rings. They are inexpensive, and you may need some.
- The factory service manual states to replace the upper intake gaskets any time the upper part of the intake manifold is removed. It’s not a deal-breaker though. I have had the intake apart previously without replacing the gaskets. It’s worth the money to replace them if they are available.
-
Remove the fuel cap, unless you want a face full of gas when you disconnect the fuel rail. Also, disconnect the battery.
-
Service manual states “remove the air box”, but I didn’t see the need to do so. I just removed the large hose connecting the air box to the throttle body. There is a vacuum line and a vent hose that need to be removed first.
-
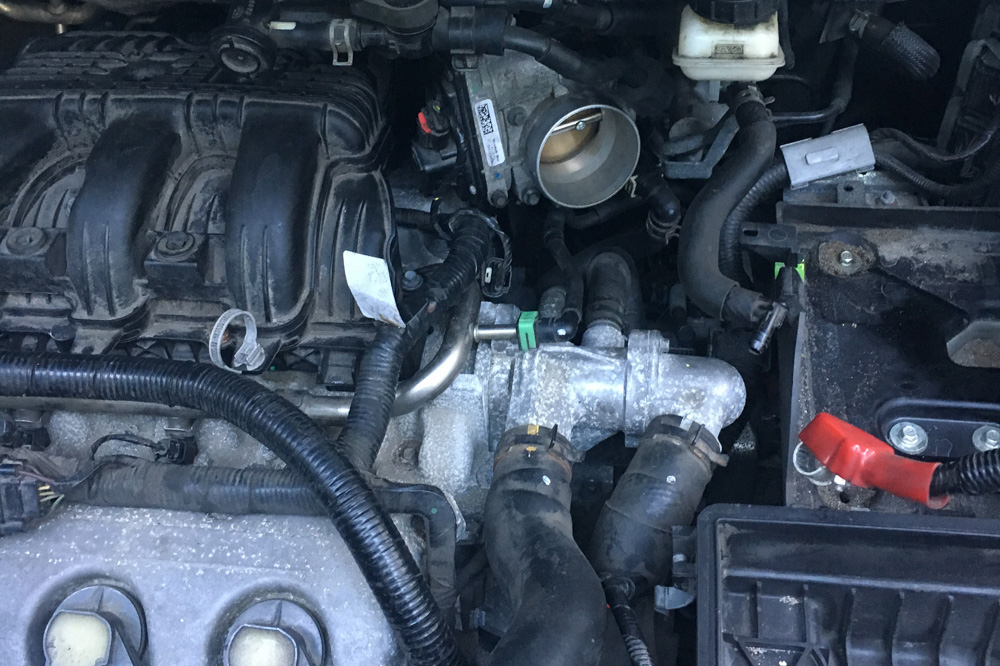
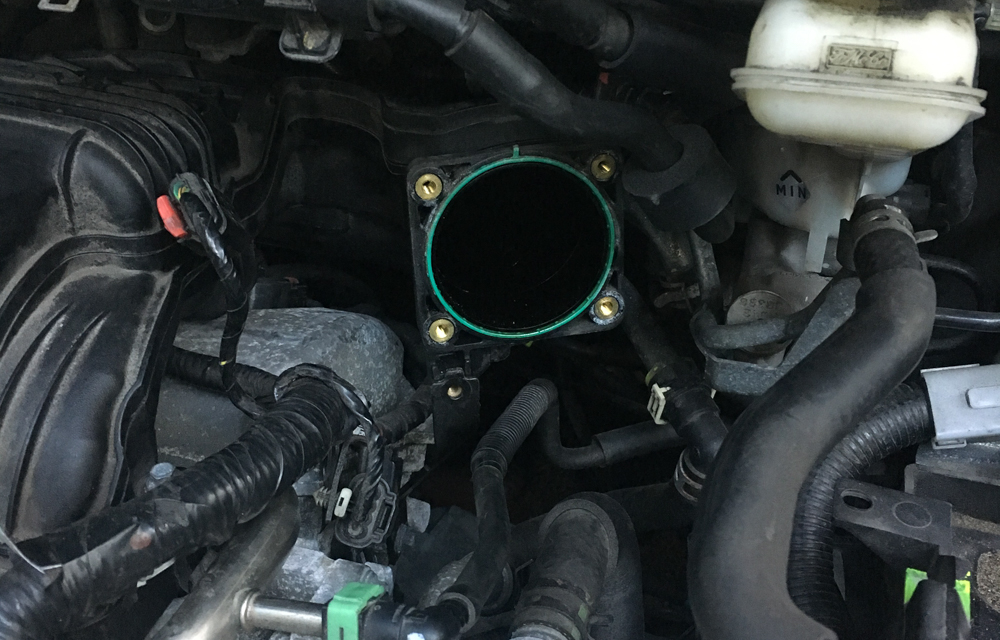
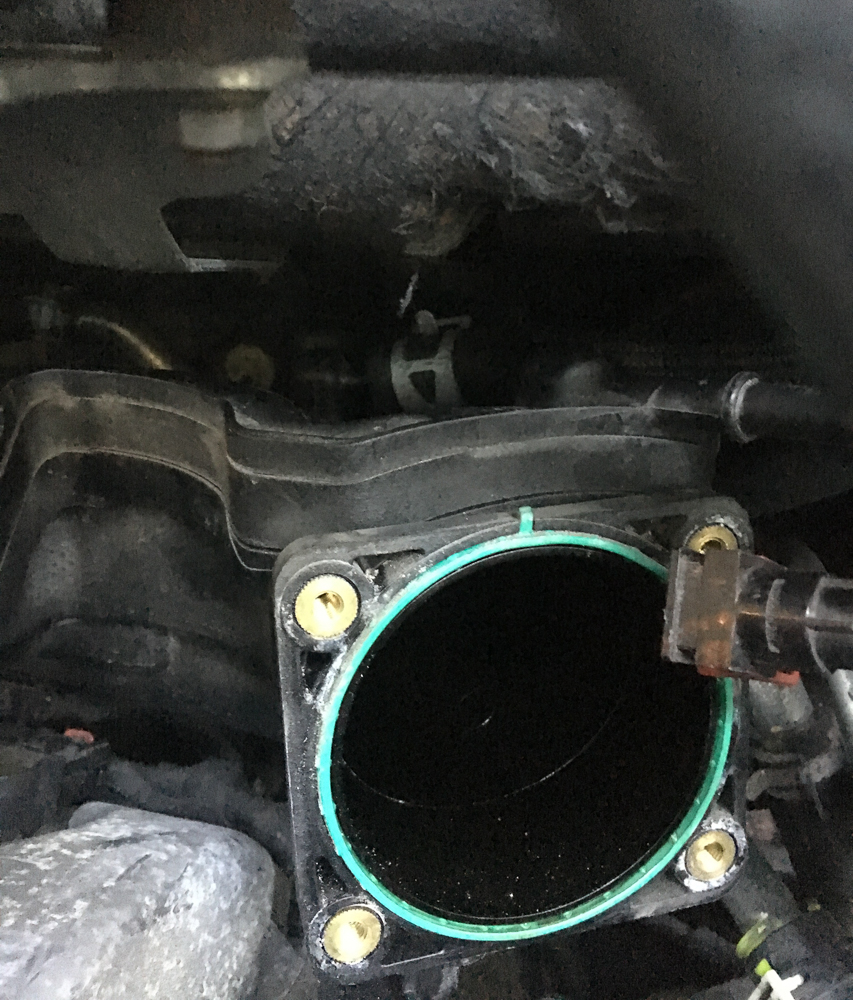
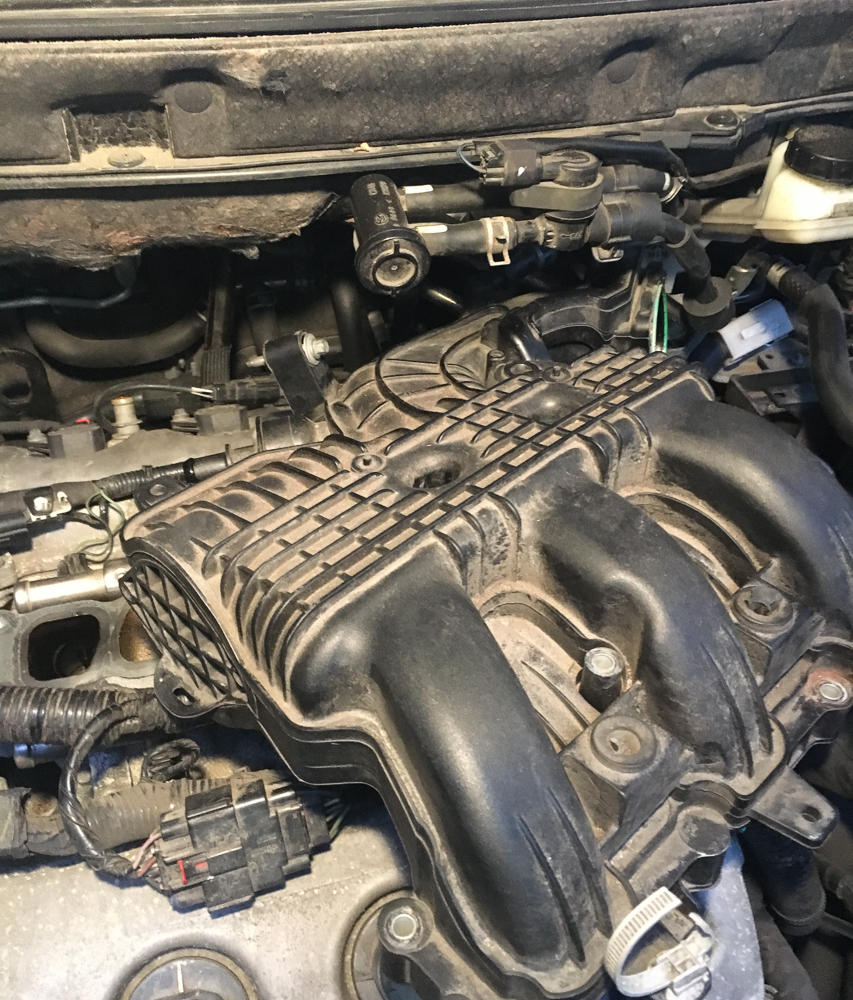
Remove the throttle body. It’s not absolutely necessary, but it makes removing the dynamic chamber (upper part of intake) much easier.
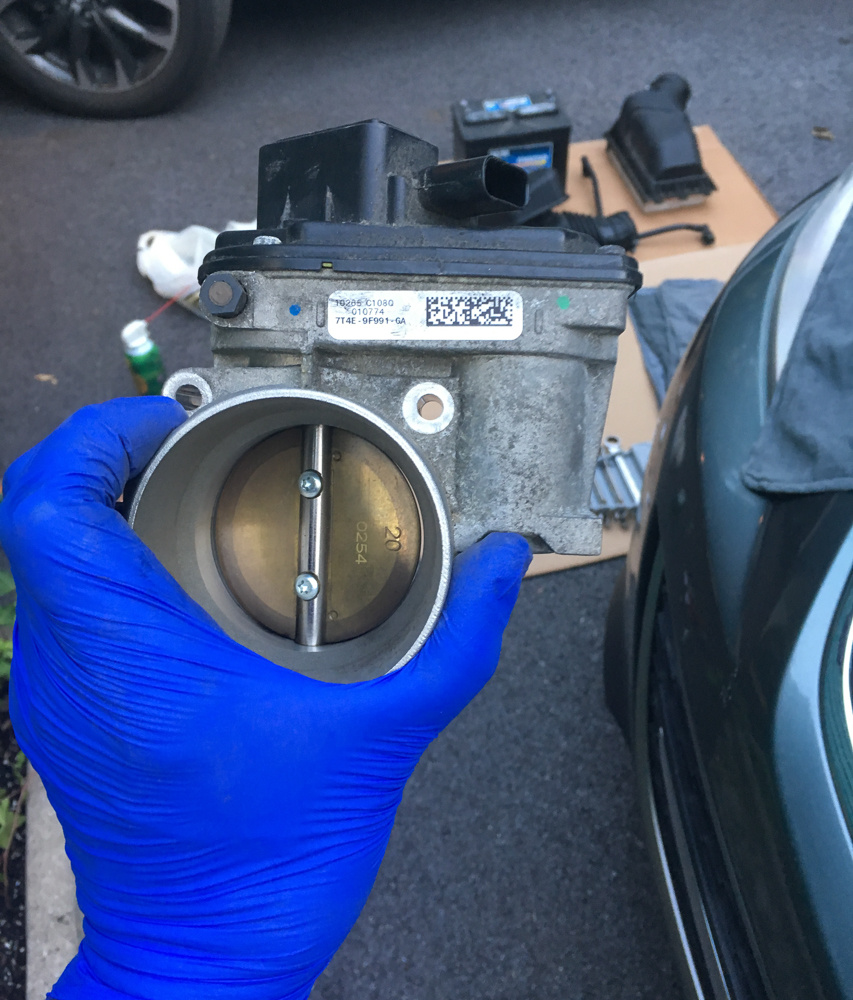
This is a great time to clean the throttle body.
-
Remove the two vacuum lines at the top of the dynamic chamber behind where the throttle body was.
-
Remove the dynamic chamber (upper intake). There are six bolts holding this to the lower intake and one bolt up under the cowl that is kind of difficult to get to.
-
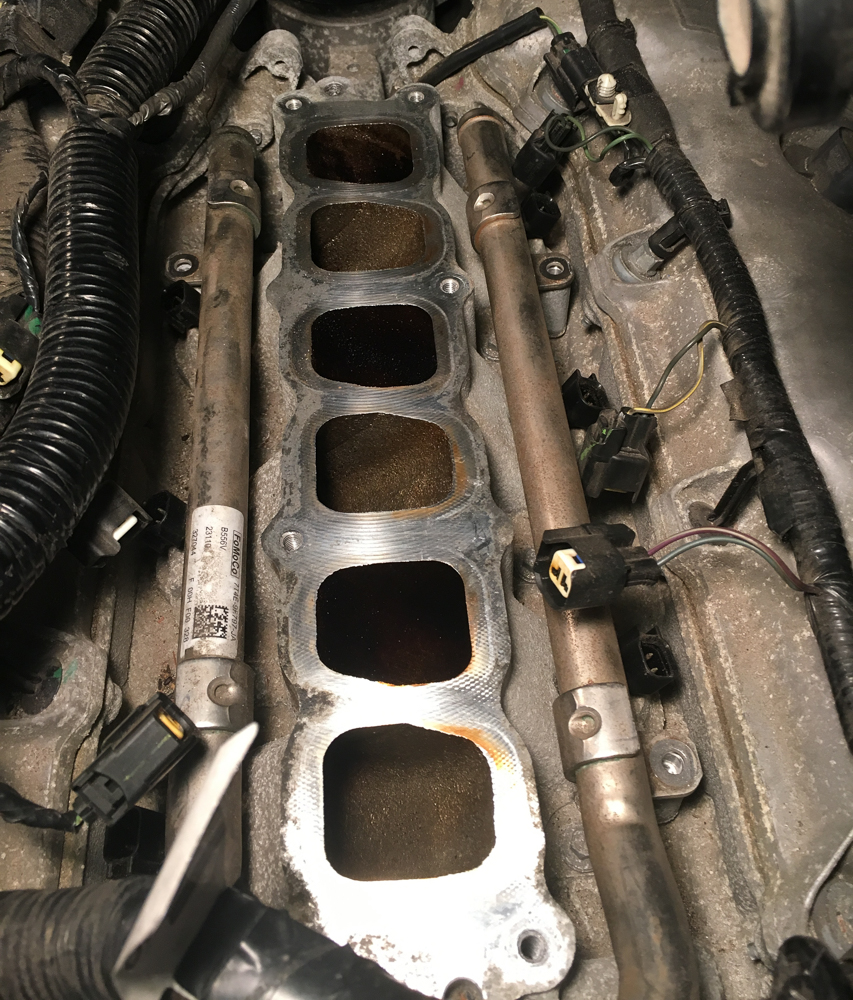
Disconnect the fuel injector connectors.
At this point if you have a compressor handy, it would be a good time to blow all the dirt and crap off the top of the manifold before opening up the fuel system. If not, be very careful not to disturb anything that could end up in the cylinders or the fuel system. Of course, you’ll need to cover the intake manifold ports.
-
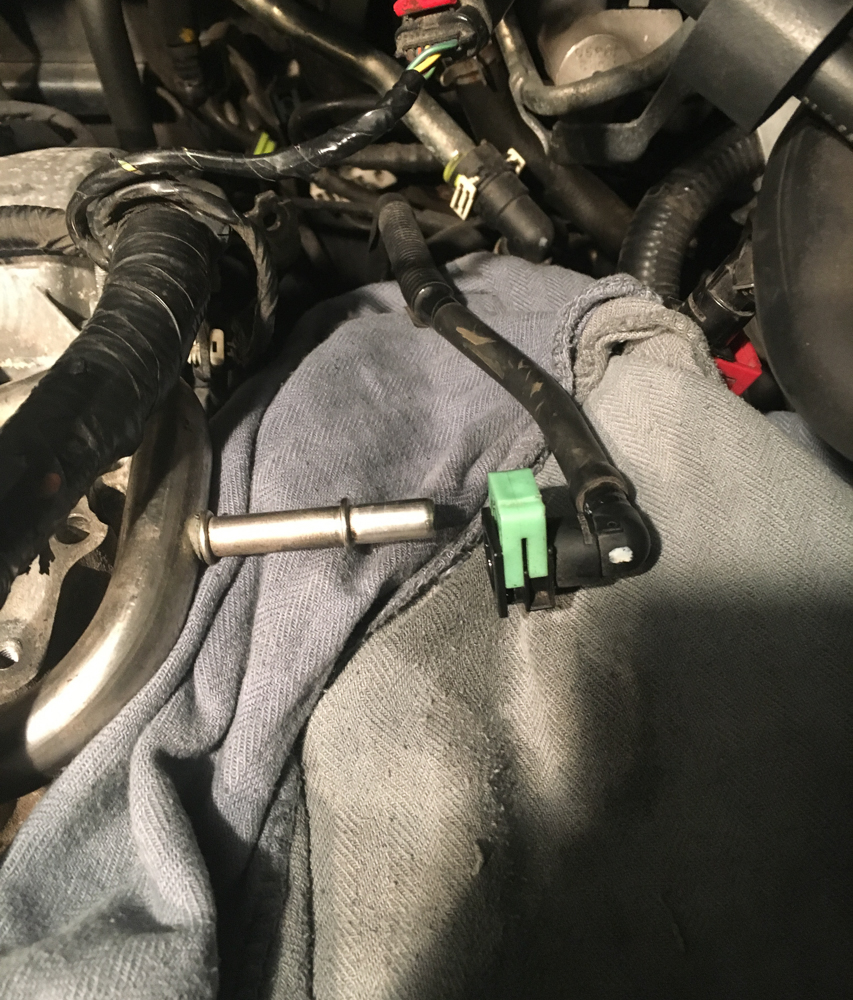
Disconnect the fuel line. Have a rag ready to catch any fuel that escapes. Go easy on the plastic clip that holds the fuel line to the rail (fuel distributor). If you break that you will be replacing the fuel line.
-
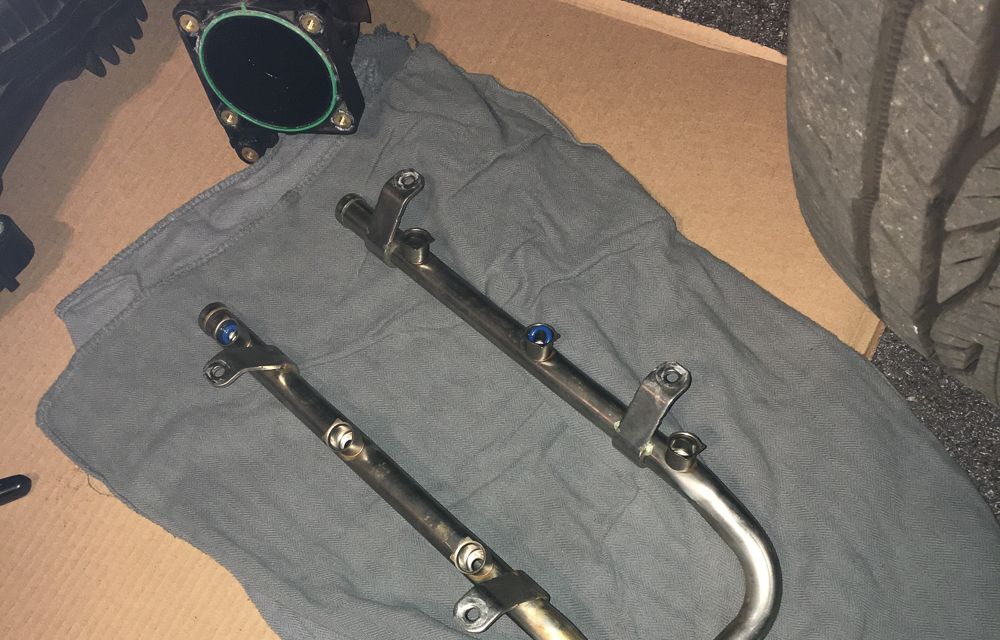
Unbolt and remove the fuel rail (fuel distributor). According to the service manual, the injectors are supposed to pull out of the intake manifold when the fuel rail comes out. I have done this job twice, and both times it didn’t work that way for me. When I remove the fuel rail, most of the injectors stay in the manifold and only one or two come out with the rail. There are metal clips that hold the injectors to the rail and also keep the injectors from rotating. For me, the bond between the injectors and the manifold was stronger than the clips and the rail pulled off without the injectors. When that happens, the fuel from the rail and the top of the injectors pours out onto the manifold. Have rags ready! The first time I did this job I wasn’t ready for the fuel and there was enough to fill up the small area around the injectors and overflow. I ended up with a small puddle on the ground.
-
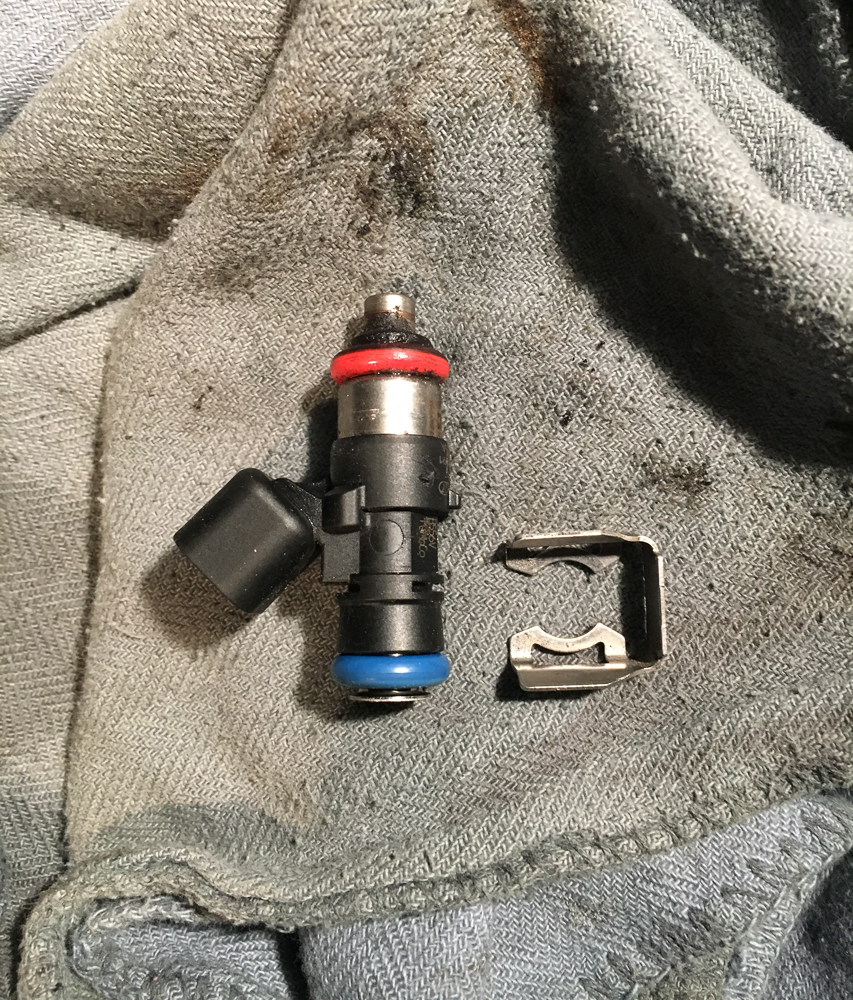
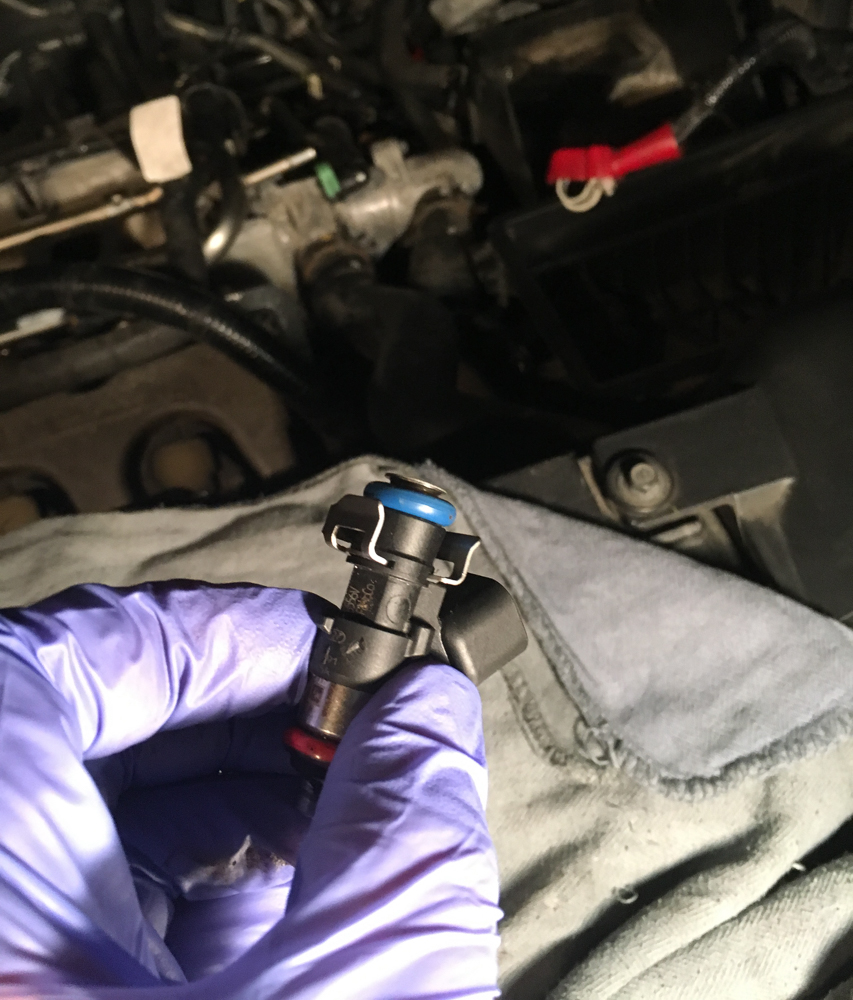
Replace the bad injector.
I found it easiest to remove the one or two injectors that pulled out with the rail and insert them into their correct positions in the manifold. I also replaced the upper injector o-rings at this point.
Also, look at the removed injector so you know how the clip slides into the grooves on the injector. Once you put the rail back on the injectors during reassembly, it will be difficult to see how the clips slide on. If you’re lucky and all the injectors pull out with the rail, reassembly should be easier.
-
Lubricate the o-rings ( I used a silicone based product)
-
Replace the fuel rail. Make sure all the clips are engaged properly.
Reassembly is the reverse.
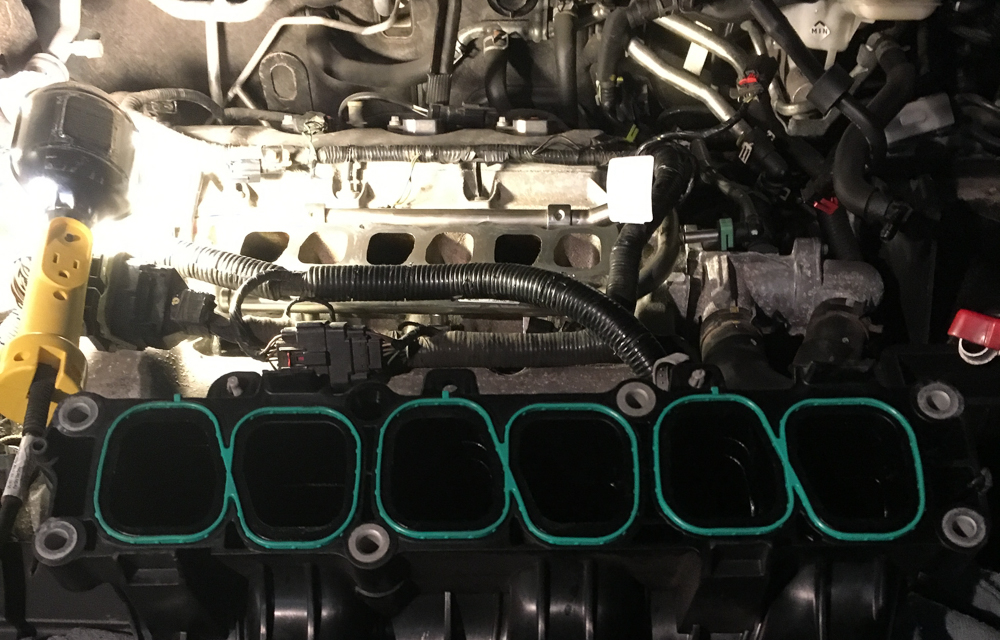
NOTE: It’s a good idea to clean up the intake where the upper and lower parts connect. If you don’t have new gaskets for the upper intake, the old gaskets can be removed and cleaned since there’s bound to be some oil around them. They are made of a flexible rubbery material so they can be easily removed without tearing.
-
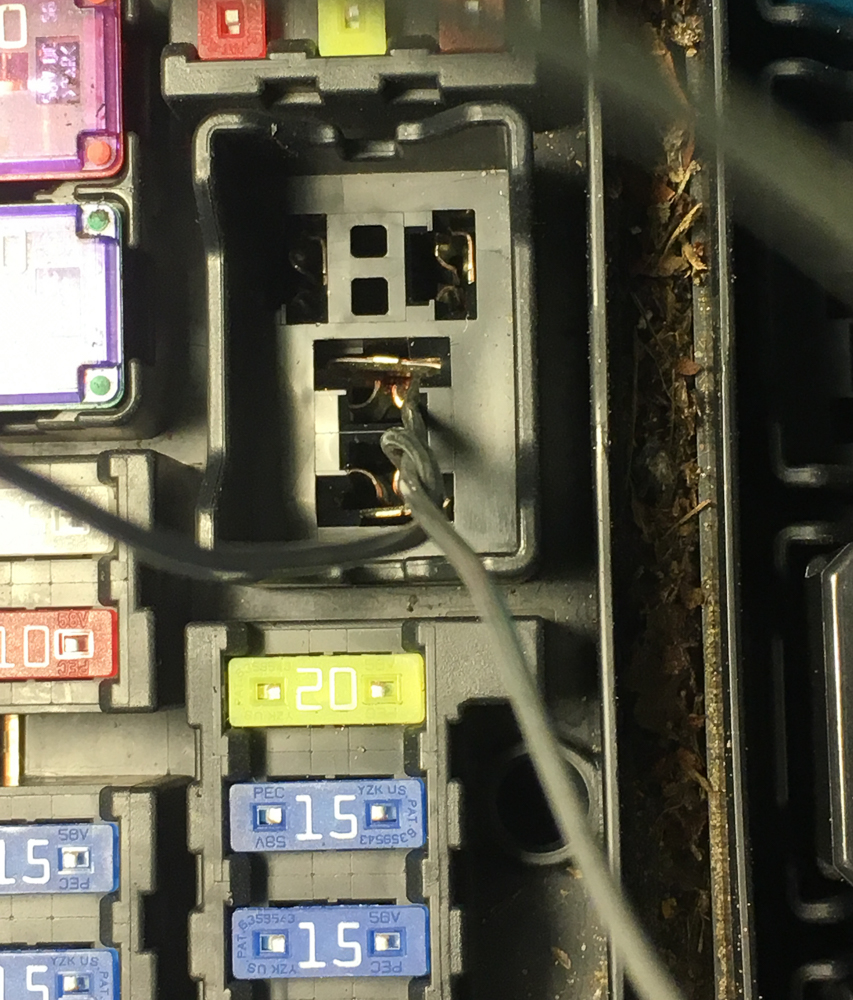
After reassembly, remove the fuel pump relay from the main fuse block in the engine compartment. Using a jumper wire, short between terminals C and D. This will activate the fuel pump without the motor running. Run the pump for 5 minutes and then check for leaks around the injectors and the fuel line connection. After 5 minutes, remove the jumper and replace the relay.
-
Rejoice because you just saved a crap-ton of money.